
Introduction
MySQL / MariaDB is one of the most popular database servers being used today. Once a database server like MySQL / MariaDB is installed, many users are not comfortable with the command prompt and require something more user-friendly to manage their database.
phpMyAdmin is a popular web interface used to manage your MySQL or MariaDB Database Server. It supports a wide range of operations and at the same time also has the ability to directly execute SQL statements.
Prerequisites
- Ubuntu 22.04 Server Install
- Root user / Non-Root user with SUDO privileges.
- LAMP Stack Already Installed. If you have not yet installed a LAMP Stack, you can refer to this guide on Installation of LAMP Stack on Ubuntu 22.04.
1. Update your system packages
If you have not yet updated your system. Update your system using the following command.
apt -y update
2. Installation of phpMyAdmin
Now we will install phpMyAdmin on our Ubuntu Server using the following command.
apt install -y phpmyadmin

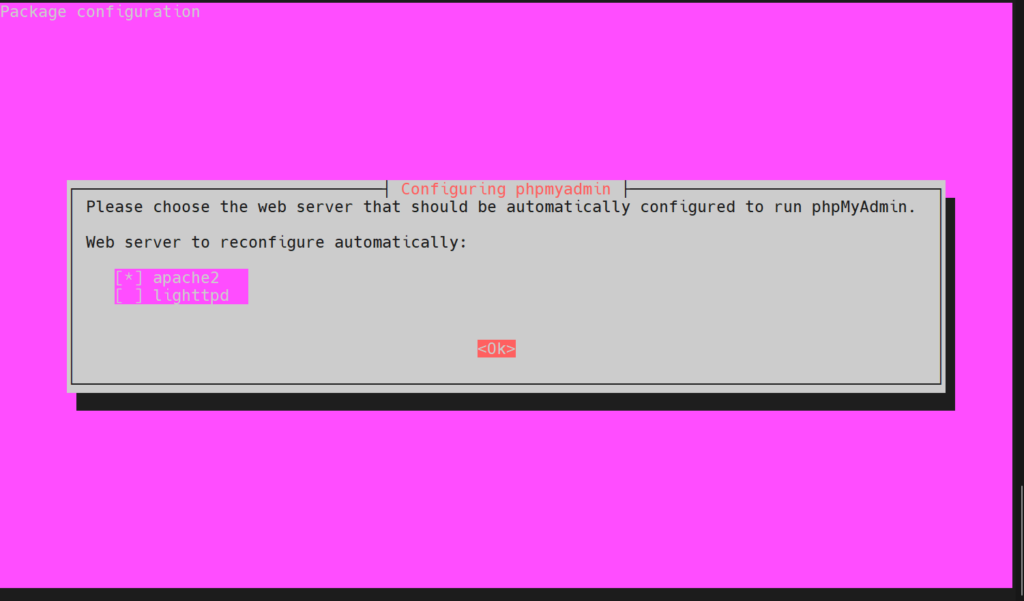
Select apache2 on the following screen. Switch to Ok by pressing tab and press Enter.
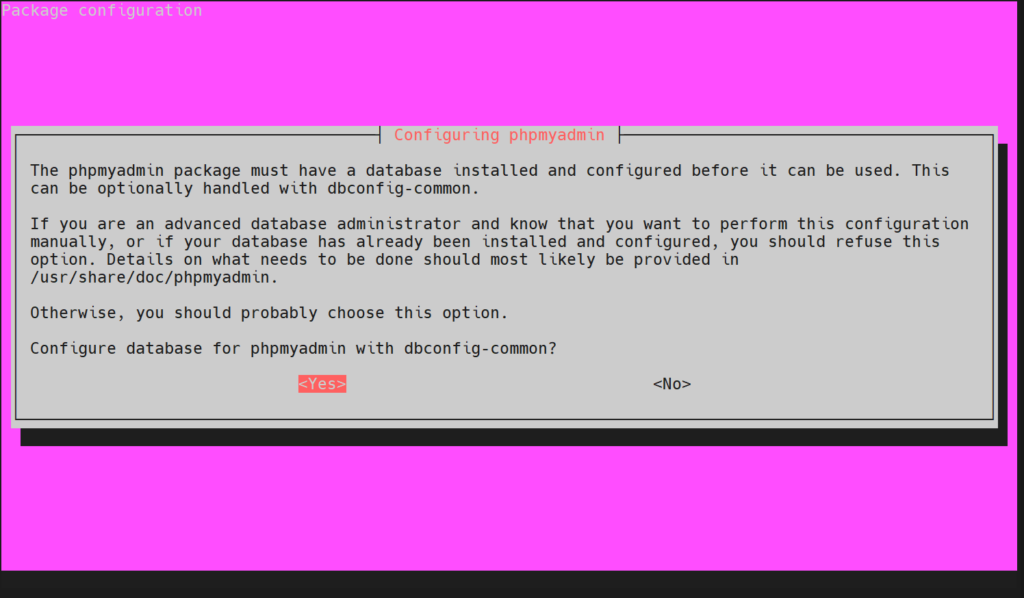
The installer will now prompt you to configure the database for phpMyAdmin. Select Yes and press Enter.
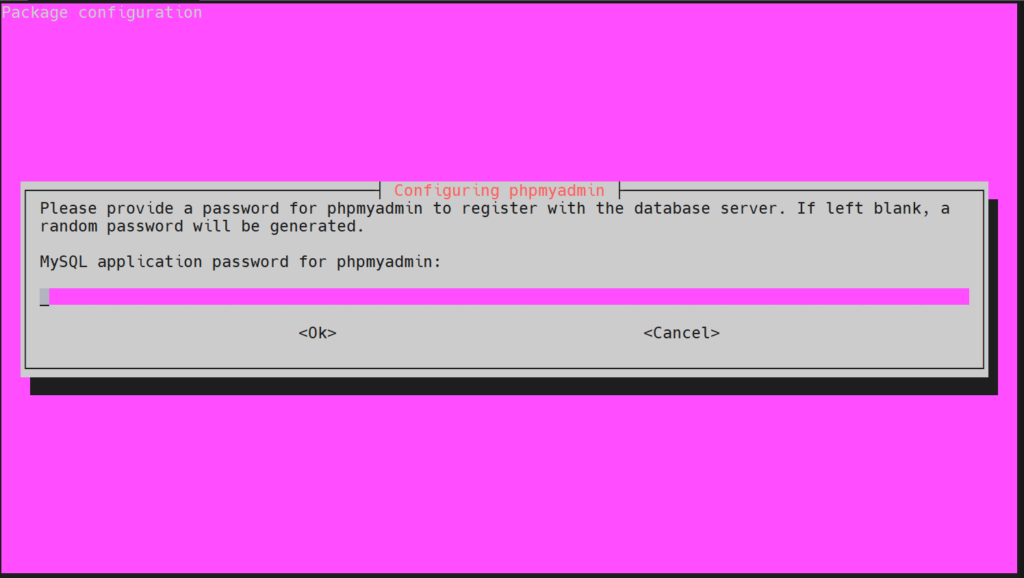
The installer will now give you a prompt to provide a password for phpMyAdmin to register with the database server. You can leave it blank and a random password will be generated OR you can give any password you like, then select Ok and press Enter.
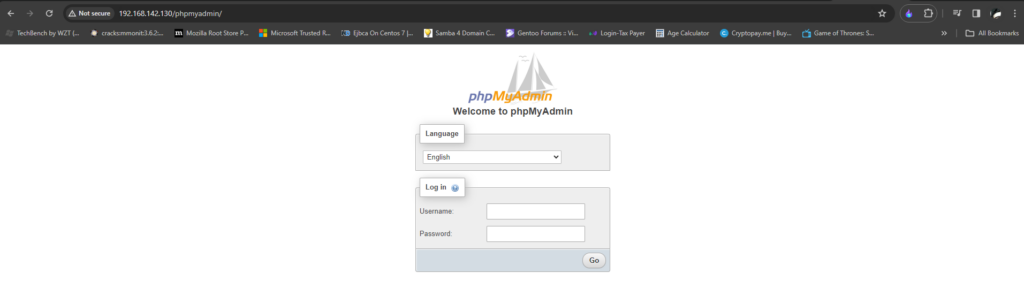
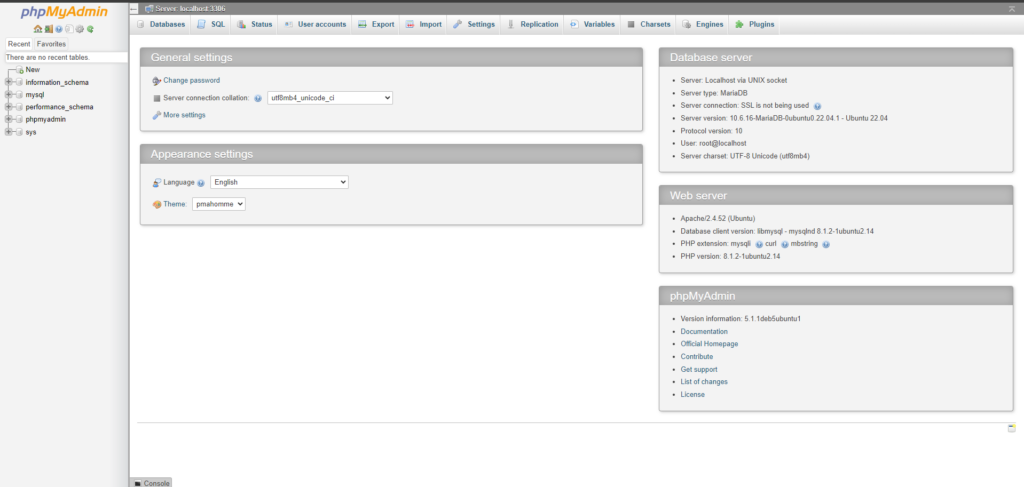
Open your browser and type http://YOUR-IP-ADDRESS/phpmyadmin or http://YOUR-DOMAIN-NAME/phpmyadmin to verify that phpMyAdmin has been installed successfully.
3. Conclusion
You have successfully completed the installation of phpMyAdmin on your Ubuntu 22.04 Server. Now you can manage your database by logging into MySQL / MariaDB using your username / password.
 on Ubuntu 22.04")