
Introduction
The Apache HTTP Server is an Opensource HTTP Server for modern operating systems like Windows and Linux. It offers many powerful features like auto-indexing and loadable dynamic modules, to name a few.
Prerequisites
- CentOS 7 / RHEL 7 Server Install
- Root user / Non-Root user with SUDO privileges.
- A Public / Static IP Address is attached to your server.
- A domain is pointing to your webserver’s public/static IP Address. We can do this by adding an “A” Record to your domain’s DNS records pointing to your IP Address.
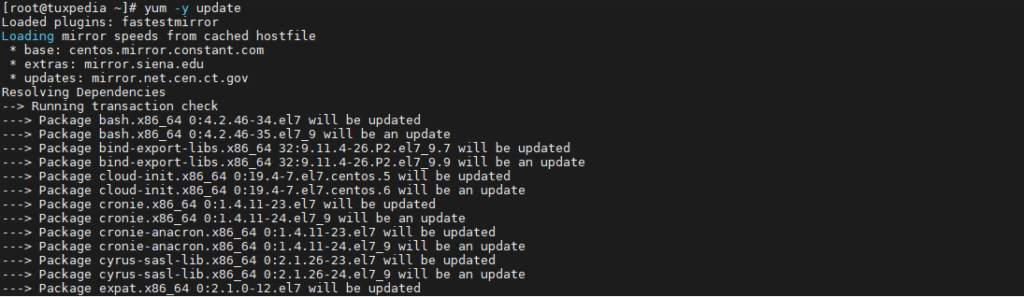
1. Update System Packages
Suppose you are installing Apache on a fresh CentOS 7 Server. You need to update the software repository and packages on the system.
yum -y update
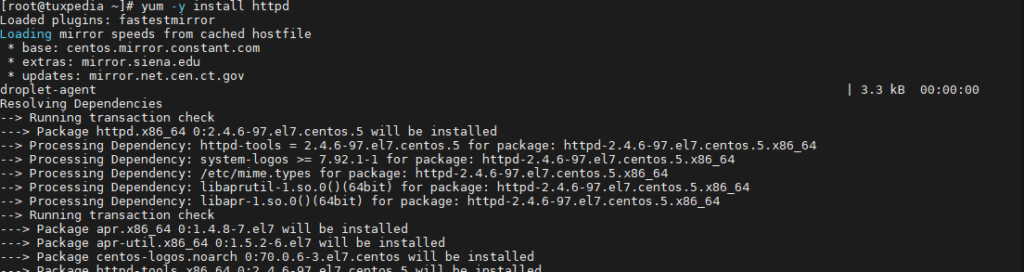
2. Installation of Apache
Apache/HTTPD is available in CentOS default repositories. Therefore, you can use yum to install apache using the following command.
yum install httpd
If firewalld is enabled on your server you need to allow HTTP/HTTPS ports using the following commands.
// Check if firewalld is enabled on your system
systemctl status firewalld

// Allow Port 80 for HTTP Traffic
// Allow Port 443 for HTTPS Traffic
// Reload firewall rules

firewall-cmd --permanent --add-service=http
firewall-cmd --permanent --add-service=https
firewall-cmd --reload

However, if firewalld is not enabled, it is recommended to enable the firewall to keep your server secure from external threats.
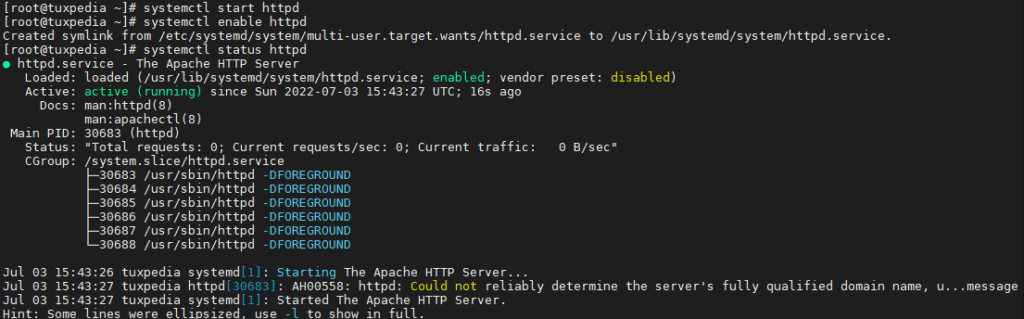
3. Check Apache Status
After completion of installation, start the web server and enable it to start automatically on boot.
// Start the Webserver
// Enable the Webserver to start automatically on boot
// Check the status of the webserver

systemctl start httpd
systemctl enable httpd
systemctl status httpd
You may also access the web server via the web browser through its domain name if you have a valid A record pointing to your server’s IP Address https://www.example.com OR you may access the web server via its IP Address https://YOUR-SERVER-IP-ADDRESS.
3. Managing the Web Server Process
Some basic commands to manage your webserver are as follows:
// To start the service
systemctl start httpd

// To stop the service
systemctl stop httpd

// To check the status of the service
systemctl status httpd

// After making any configuration changes, you can enable them by reloading the service
systemctl reload httpd

// To disable automatic start-up of the service on boot
systemctl disable httpd

// To enable automatic start-up of the service on boot
systemctl enable httpd
4. Setup your first Apache Virtual Host
If you need to host multiple domains on your server, you should configure Virtual Hosts on your web server. For example, if your domain name is example.com. You need to create a configuration file for your domain’s virtual host in /etc/httpd/conf.d as follows:
// Create the virtual host configuration file using the vi editor
vi /etc/httpd/conf.d/example.com.conf

// Press "i" to insert data and paste the following configuration. Remember to replace "example.com" with your domain name.

<VirtualHost *:80>
  ServerName example.com
  ServerAlias www.example.com
  DocumentRoot /var/www/example.com
  <Directory /var/www/example.com>
           Options Indexes FollowSymLinks MultiViews
           AllowOverride All
   </Directory>
   CustomLog /var/log/httpd/example.com-access.log combined
   ErrorLog /var/log/httpd/example.com-error.log
   # Possible values include: debug, info, notice, warn, error, crit,
   # alert, emerg.
   LogLevel warn
</VirtualHost>

Save the file and exit vi editor.
Now you need to create the document root for your website. You can do that by typing the following command.
// Creating the Document Root for your website

mkdir -p /var/www/example.com

// Confirm that the directory has been created

ls -al /var/www

// Please ensure that the directory path is exactly the same as defined in your configuration file i.e. /etc/httpd/conf.d/example.com.conf

Now, create some sample data in the Document Root to be displayed on the website.
// Adding sample data to DocumentRoot

echo 'Welcome to my website!' > /var/www/example.com/index.html

Restart and check the status of the Apache Web Service.
// Restarting the Apache Web Service

systemctl restart httpd

// Checking the status (This will help you identify, if there are any errors)

systemctl status httpd

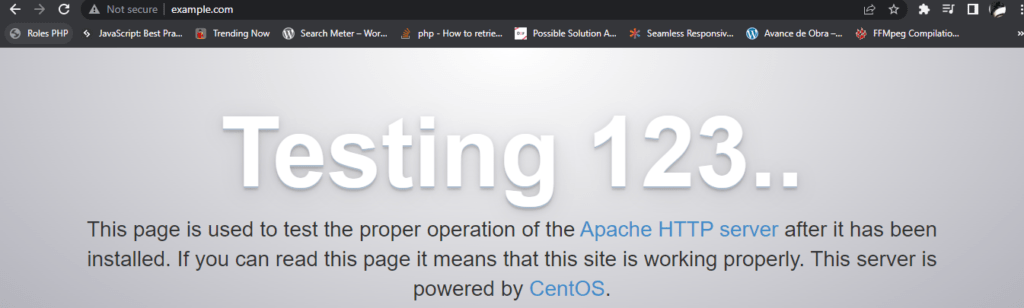
5. Testing the Apache Virtual Host
After following all of the above steps, you can now visit http://www.example.com to access your website as shown in the following screenshot.

6. Conclusion
Now that you have successfully installed Apache on CentOS. You can start working on your website / application / blog to make it ready to publish on the internet.
If you want to install /configure the complete LAMP (Linux, Apache, MySQL, PHP) Stack you can check out the following article:
Installation of Linux, Apache, MariaDB, PHP (LAMP Stack) on CentOS 7


 on CentOS 7")