
Introduction
MySQL / MariaDB is one of the most popular database servers being used today. Once a database server like MySQL / MariaDB is installed, many users are not comfortable with the command prompt and require something more user-friendly to manage their database.
phpMyAdmin is a popular web interface used to manage your MySQL or MariaDB Database Server. It supports a wide range of operations and at the same time also has the ability to directly execute SQL statements.
Prerequisites
- CentOS 9 Stream Server Install
- Root user / Non-Root user with SUDO privileges.
- LAMP Stack Already Installed. If you have not yet installed a LAMP Stack, you can refer to this guide on Installation of LAMP Stack on CentOS 9 Stream.
1. Update your system packages
If you have not yet updated your system. Update your system using the following command.
yum -y update
2. Enable EPEL (Extra Packages for Enterprise Linux) Repository
The phpMyAdmin package is available in the EPEL Repository. To enable EPEL Repo use the following command:
dnf config-manager --set-enabled crb
dnf install https://dl.fedoraproject.org/pub/epel/epel-release-latest-9.noarch.rpm
dnf install https://dl.fedoraproject.org/pub/epel/epel-next-release-latest-9.noarch.rpm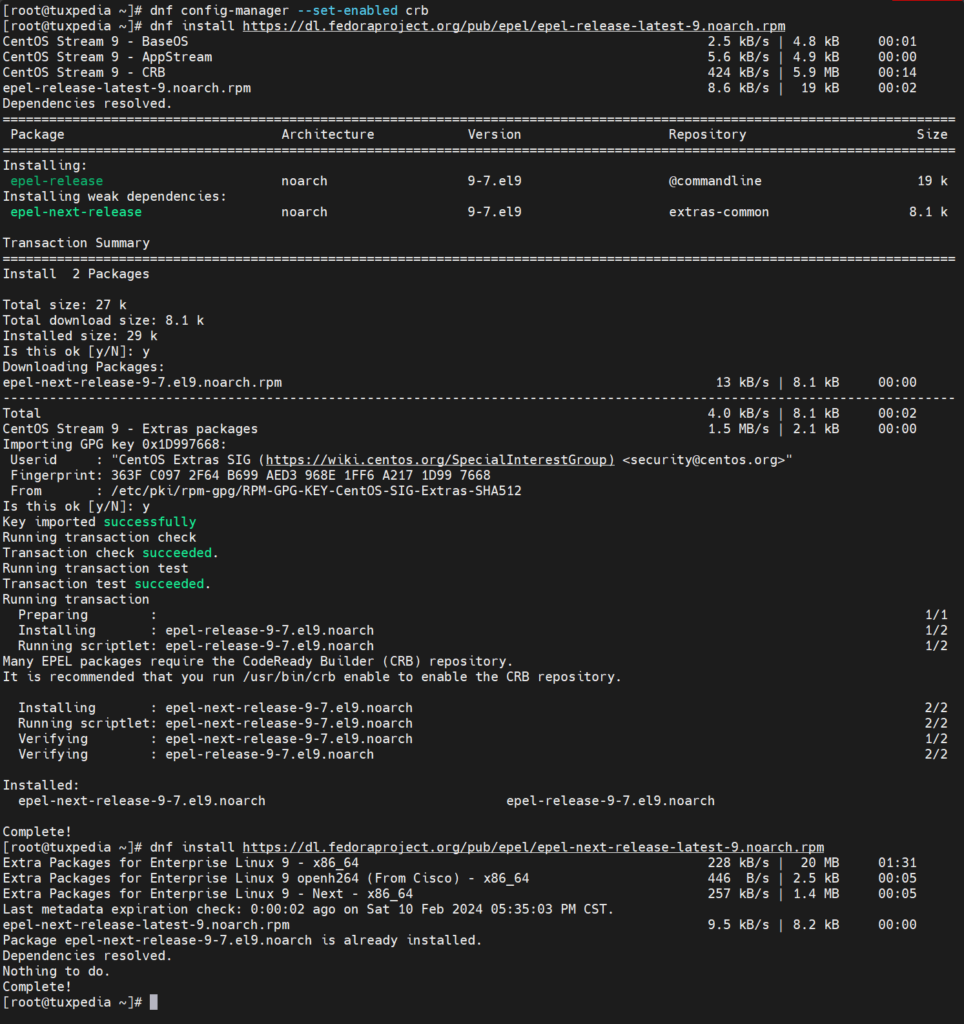
3. Installation of phpMyAdmin
Now we will install phpMyAdmin on our CentOS 9 Server using the following command.
yum -y install phpmyadmin

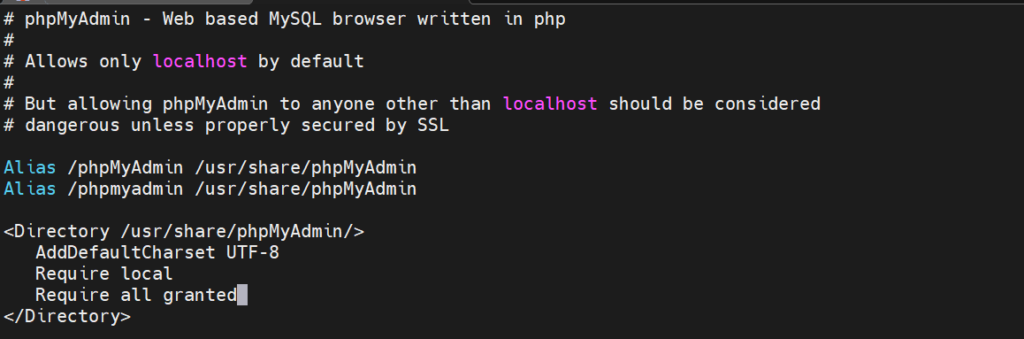
Now, we need to edit the file /etc/httpd/conf.d/phpMyAdmin.conf.
vim /etc/httpd/conf.d/phpMyAdmin.confadd the line “Require all granted” under the line “Require local”.
# phpMyAdmin - Web based MySQL browser written in php
#
# Allows only localhost by default
#
# But allowing phpMyAdmin to anyone other than localhost should be considered
# dangerous unless properly secured by SSL

Alias /phpMyAdmin /usr/share/phpMyAdmin
Alias /phpmyadmin /usr/share/phpMyAdmin

<Directory /usr/share/phpMyAdmin/>
   AddDefaultCharset UTF-8
   Require local
   Require all granted
</Directory>
Restart Apache using the following command.
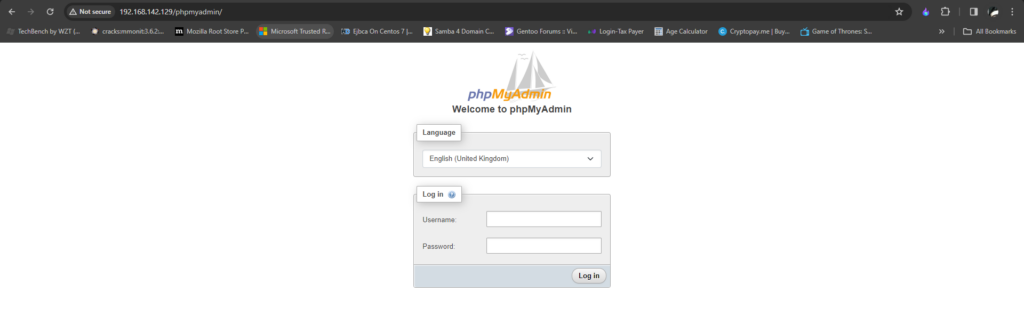
systemctl restart httpdOpen your browser and type http://YOUR-IP-ADDRESS/phpmyadmin or http://YOUR-DOMAIN-NAME/phpmyadmin to verify that phpMyAdmin has been installed successfully.
4. Conclusion
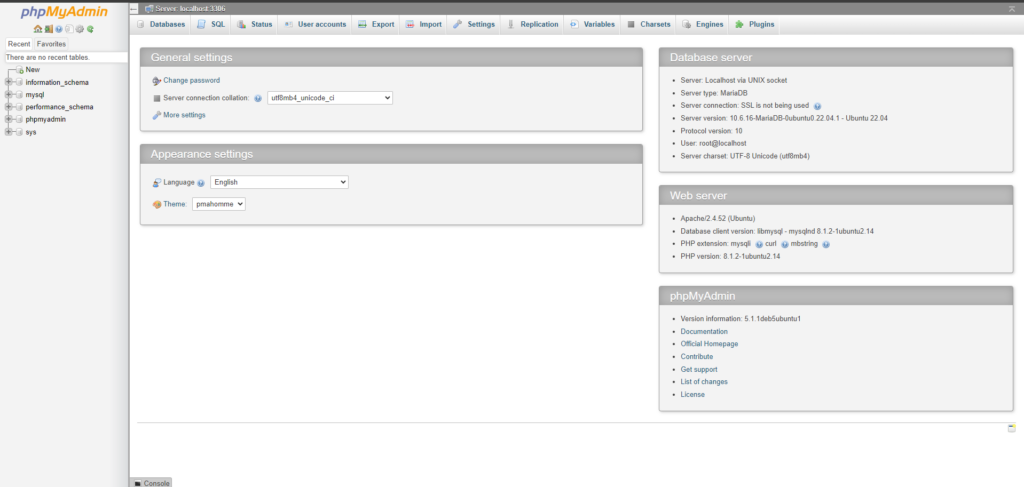
You have successfully completed the installation of phpMyAdmin on your CentOS 9 Stream Server. Now you can manage your database by logging into MySQL / MariaDB using your username / password.

 on CentOS 7")
